
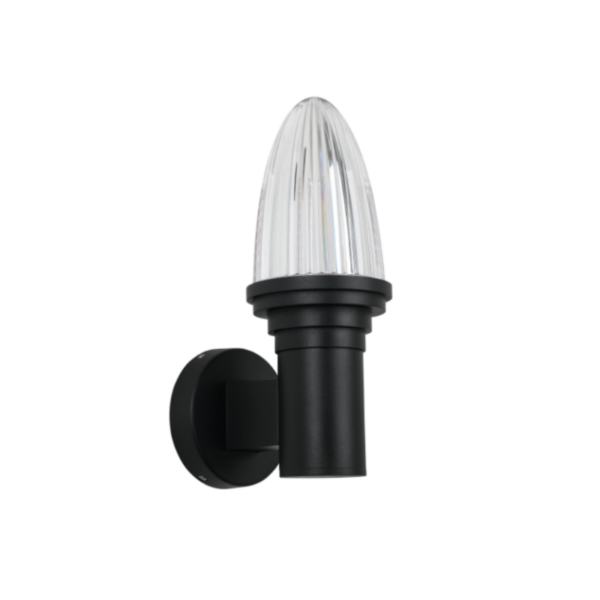
A plainspoken why this comparison matters
Folks often talk about lumens like they’re the whole story, but the real shape of how light falls comes from lens engineering and optics — that’s where manufacturers make or break an installation. If you’re sizing fixtures for a porch, pathway, or commercial facade, you’ll want to know whether a given outdoor fixture narrows light into a tight spot or fans it out as a wide wash. That’s why I’m comparing beam spread behavior across exterior lighting makers, with practical notes on motion-sensor integration for everyday use — like with outdoor wall lights motion sensor and options suited to an exterior living space such as outdoor wall lights for home. We’ll lean on real installations in Texan neighborhoods and municipal LED retrofits as our anchor to keep this grounded in how lighting actually performs on the ground.
Beam spread basics: what the specs don’t always tell ya
Beam spread — the angular width over which a fixture delivers useful illuminance — is more than a single number. Manufacturers quote distributions (spot, narrow, flood) and optical distribution curves, but real-world factors like reflectors, lens profile, and mounting height change outcomes. A 30-degree spot at 10 feet will feel different than the same beam at 20 feet. Industry terms to watch for include beam spread, CCT, and CRI — they matter, but they’re only part of the story when you’re balancing glare, uniformity, and security.
Lens engineering differences that matter
Most brands reach the same lumen targets, yet lens design is the secret sauce: molded optics, TIR lenses, and multi-faceted reflectors each shape beam edges and side spill. TIR (total internal reflection) lenses tend to give cleaner cutoffs — great for pathway lighting or accenting architectural detail — while diffused lenses smooth light for broad, usable area lighting. Manufacturers who invest in precise lens tooling will often produce fixtures with tighter beam angle tolerances and better optical distribution control, which reduces light trespass and improves uniformity on a facade.
How the competition stacks up — a few practical comparisons
Look at three practical archetypes: value mass-market fixtures, mid-tier engineered optics, and premium modular systems. Value fixtures usually push raw lumens with simpler diffusers — fine for general security but prone to glare. Mid-tier options often use focused lenses and better reflector geometry to control spill. Premium modular systems let you swap optics to tune beam spread for specific tasks. If you’re matching fixtures to mixed-use exteriors — porches next to landscaped beds — the modular approach buys you the most flexibility and long-term value.
Common mistakes homeowners and specifiers make
They usually pick by brightness alone, forget to check mounting height vs. beam angle, or assume all “flood” claims are equal. Don’t ignore photometric data — a cut-off IES file tells more than a packaging blurb. Test a sample on-site if you can; shadowing and reflectance from nearby surfaces will change perceived brightness. And watch for motion-sensor placement: put a sensor where it senses the intended approach path, not where it triggers from every passing critter — otherwise you’ll be annoyed, not secure. —
Choosing the right setup for your home: practical metrics
When you’re buying outdoor fixtures, evaluate three practical metrics: delivered footcandles at task locations, beam uniformity across the area, and glare control (cutoff). Compare manufacturer photometrics rather than eyeballing lumen counts. Also consider CCT: 2700K–3000K generally reads warmer and more inviting on home exteriors, while 4000K gives a crisper look for security or commercial facades. These choices affect both comfort and compliance with local dark-sky or nuisance-lighting guidelines.

Advisory: three golden rules for evaluating exterior lens engineering
1) Prioritize photometrics over lumen claims — request IES/LM-63 files and check predicted footcandles at your mounting height. 2) Match optic type to task — use narrow TIR lenses for accents, asymmetric distributions for wall washing, and diffused optics for broad pedestrian areas. 3) Factor system flexibility — choose fixtures that allow optic swaps or offer multiple beam spreads so you can adjust on-site without replacing the whole fixture.
Putting those three rules into practice saves time, reduces retrofit spend, and gets you the look and safety you aimed for. In many neighborhood installs I’ve seen around Austin and other Texas towns, the difference between a tidy, glare-free front yard and a harsh, washed-out one came down to optics more than lumens. Keyida. —